Receive and deliver in one step
What this does
The simplest flow: a receipt puts goods straight into stock, a delivery takes them straight out. It is the default on a new database.
Steps
These two fields only appear once Multi-Step Routes is enabled; on a database that has never enabled it, one step is simply what happens.
In WindoorERP Inventory, both incoming and outgoing shipments are configured to process in one step, by default. This means purchases will be received directly into stock, and deliveries will be moved directly from stock to customers.
Tip
Incoming and outgoing shipments do not need to be configured with the same amount of steps.
For example, a warehouse's settings can be configured so products can be received directly in one step, and delivered in three steps (pick + pack + ship).
-
01
Go to Inventory › Configuration › Warehouses and open the warehouse.
-
02
On the Warehouse Configuration tab, set Incoming Shipments to Receive goods directly (1 step).
-
03
Set Outgoing Shipments to Deliver goods directly (1 step).
-
04
Save.
Configuration
To configure one-step receipts and deliveries for a warehouse, navigate to Inventory app › Configuration › Warehouses, and select a warehouse to edit.
Under the Warehouse Configuration tab, set Incoming Shipments to Receive goods directly (1 step), and set Outgoing Shipments to Deliver goods directly (1 step).
Note
Since one-step receipt and delivery is the default for incoming and outgoing shipments in WindoorERP, the Multi-Step Routes feature is not required.
However, for the Shipments settings to appear on a warehouse form, the feature must be enabled.
To enable Multi-Step Routes, navigate to Inventory app › Configuration › Settings. Under the Warehouse section, tick the checkbox next to Multi-Step Routes, and click Save. Doing so also activates the Storage Locations feature.
Receive goods directly (1 step)
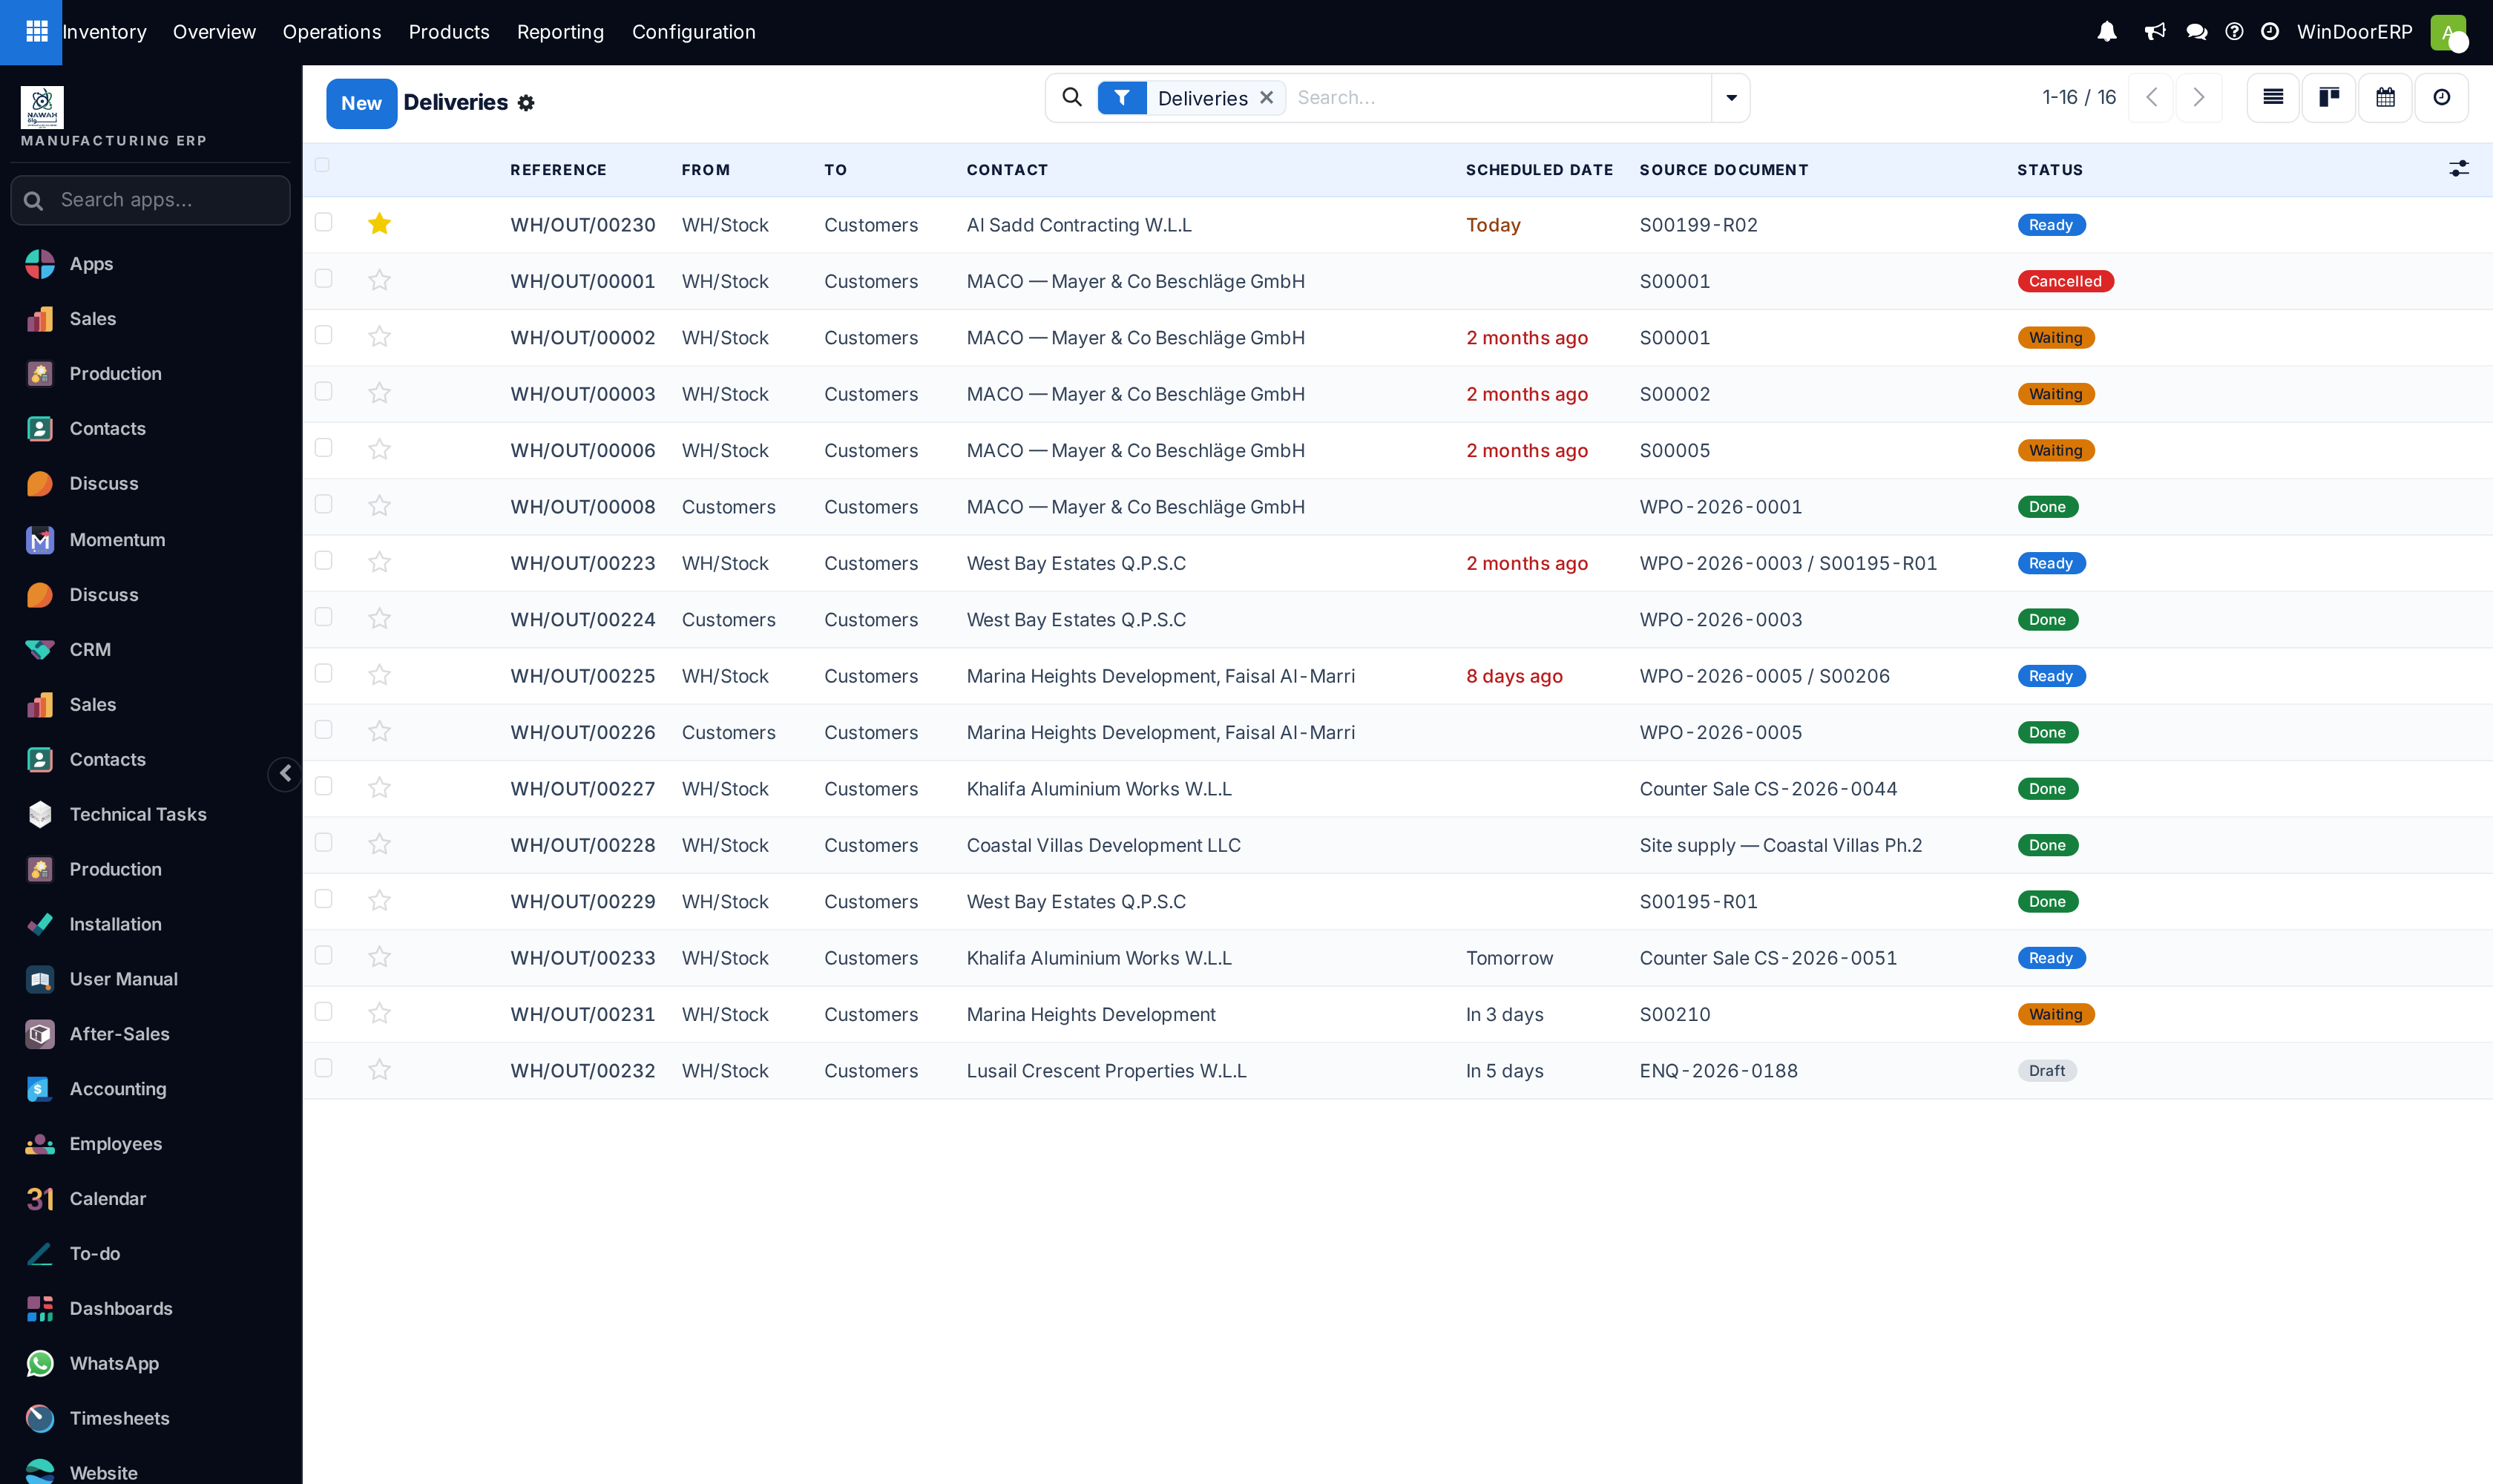
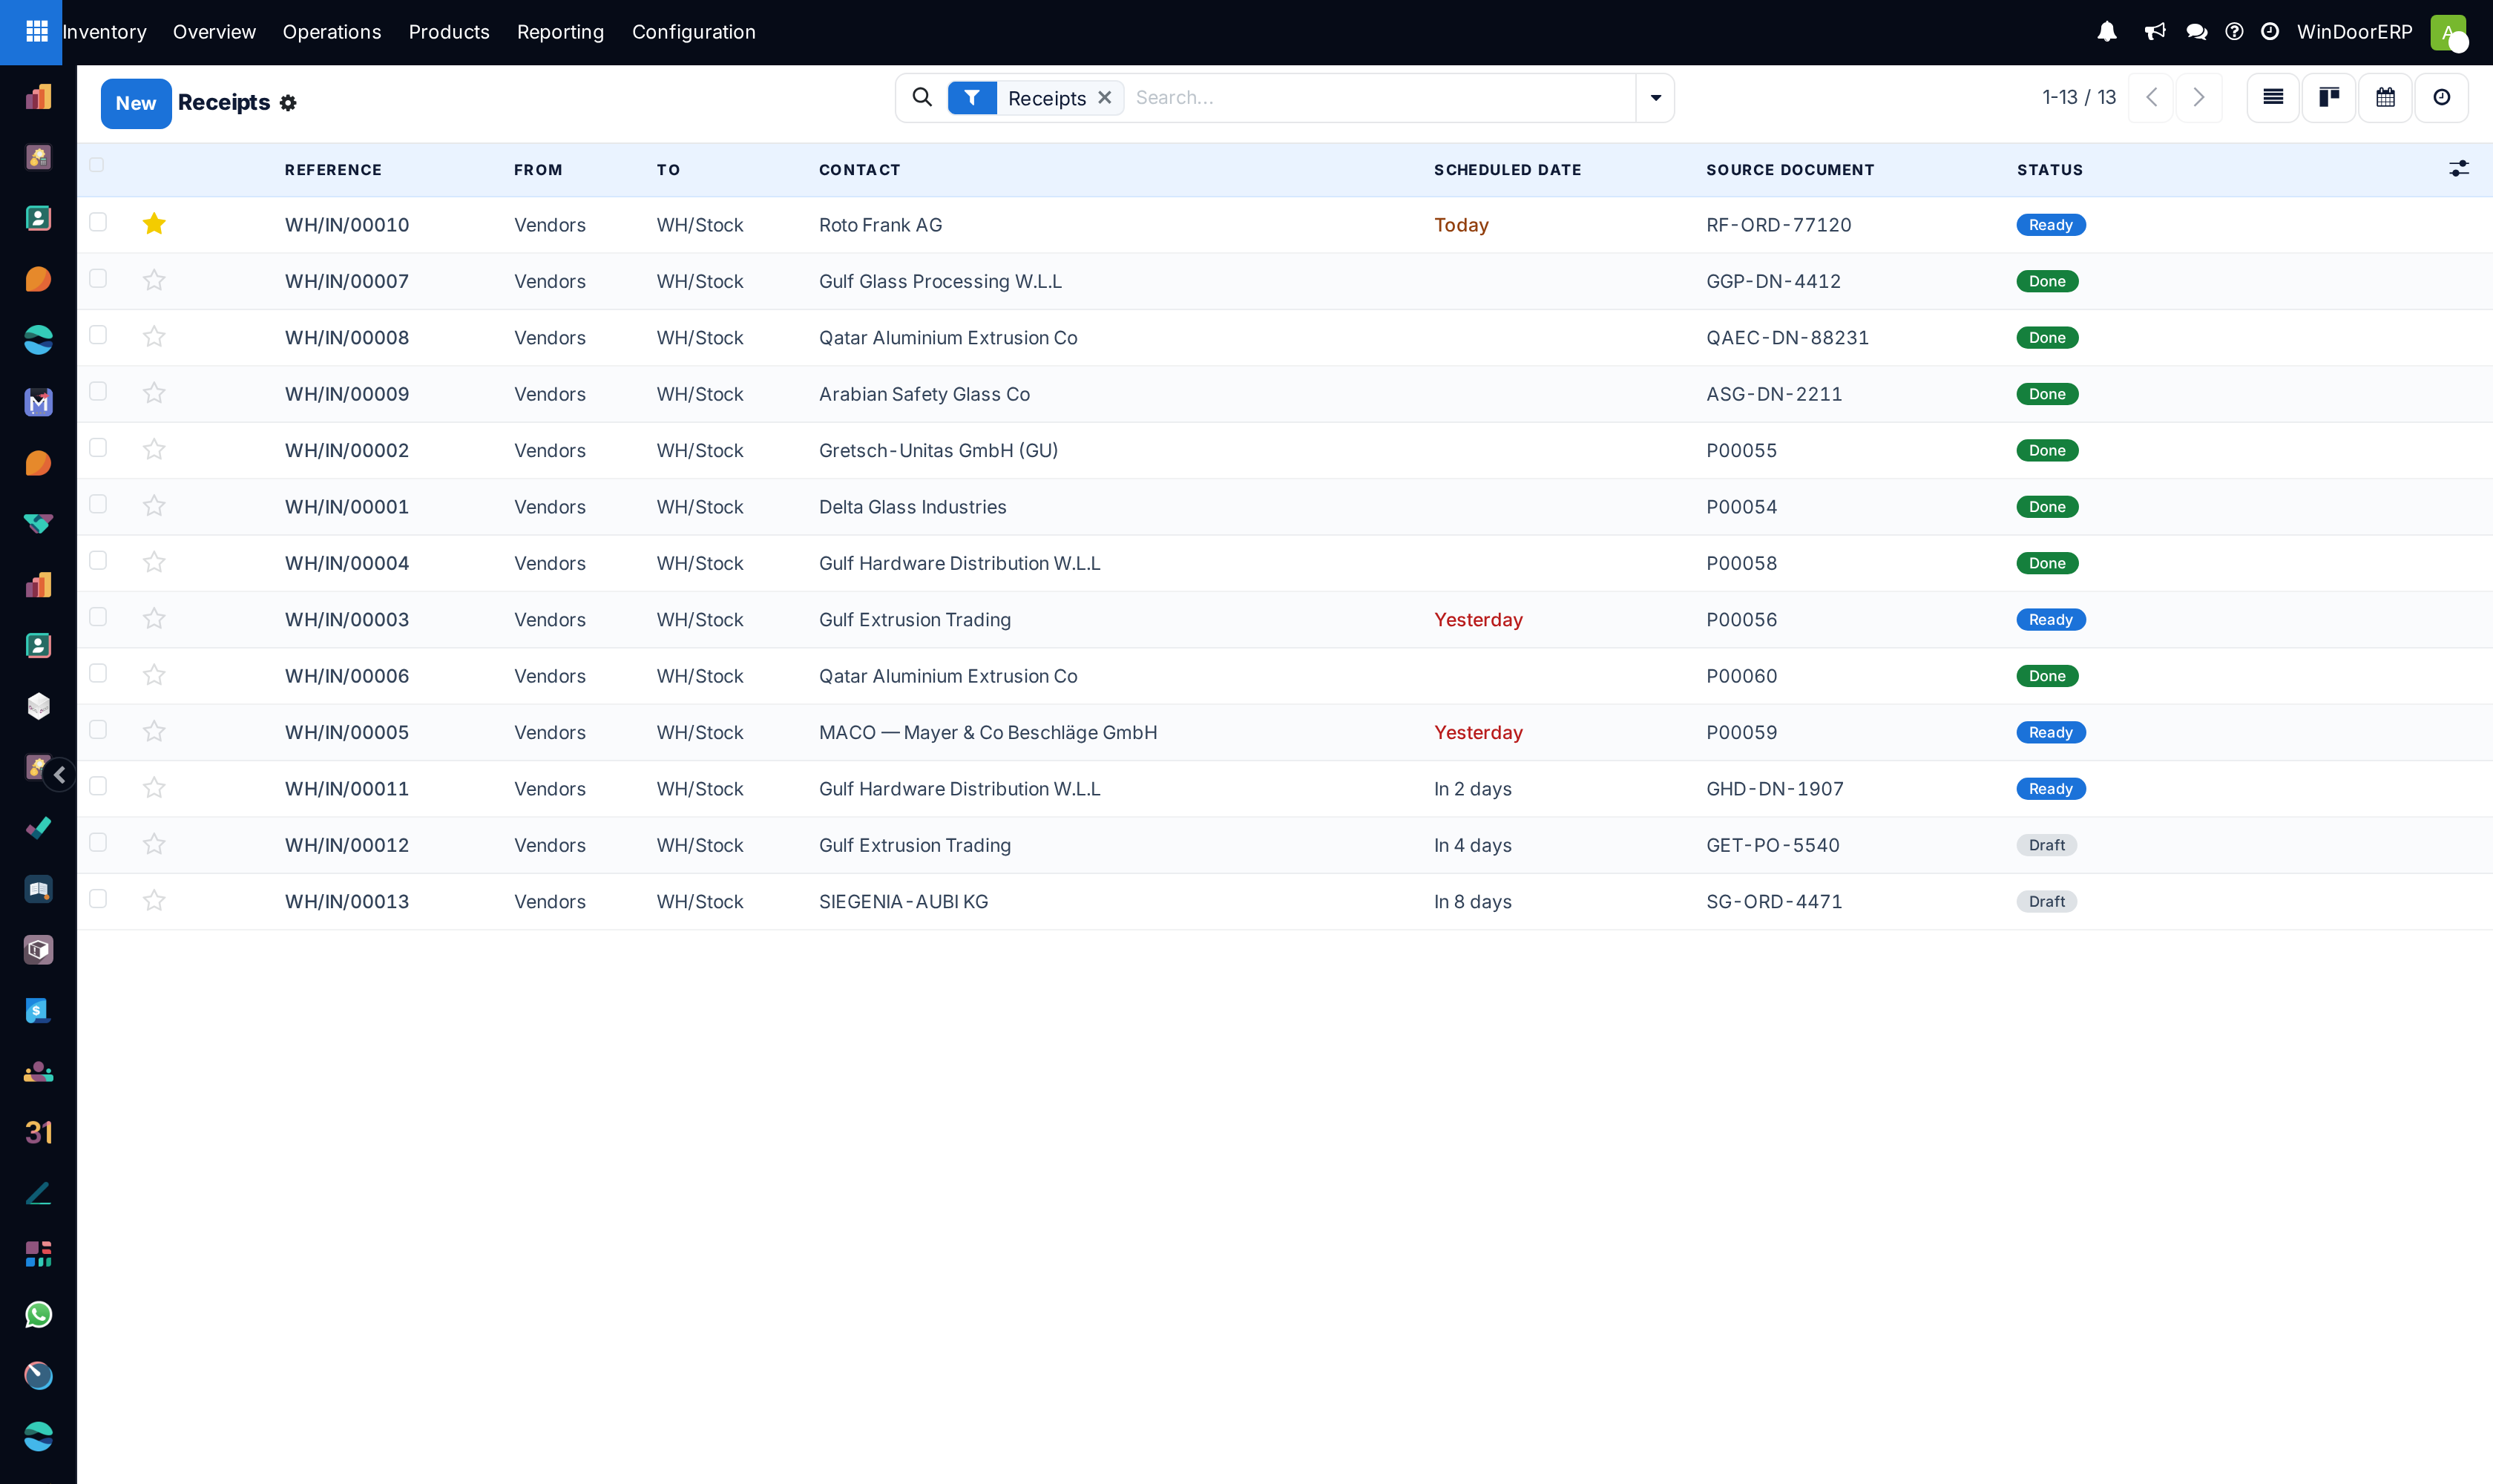
When products are received in one step, they will move from the vendor location to warehouse stock in the database immediately upon validation of a purchase order (PO).
Create purchase order
To create a PO, navigate to the Purchase app, and click New. This opens a blank Request for Quotation (RfQ) form.
Add a vendor in the Supplier field. Then, fill out the various fields on the RfQ, as necessary.
Under the Products tab, click Add a product, and select a product to add to the RfQ.
Once ready, click Confirm Order. This moves the RfQ to the Purchase Order stage.
Once the PO is confirmed, a Receipt smart button appears at the top of the form. Clicking the smart button opens the warehouse receipt (WH/IN) form.
Process receipt
From the warehouse receipt form, the products ordered can be received into the warehouse. To receive the products, click Validate. Once validated, the receipt moves to the Done stage.
Click back to the PO (via the breadcrumbs, at the top of the form) to view the PO form. On the product line, the quantity in the Received column now matches the ordered Quantity.
Deliver goods directly (1 step)
When products are delivered in one step, they will move from warehouse stock to the customer location in the database immediately upon validation of a sales order (SO).
Create sales order
To create a SO, navigate to the Sales app, and click New. This opens a blank sales quotation form.
Add a customer in the Customer field. Then, fill out the various fields on the sales quotation form, as necessary.
Under the Product tab, click Add a product, and select a product to add to the sales order quotation.
Once ready, click Confirm. This moves the quotation to the Sales Order stage.
Once the SO is confirmed, a Delivery smart button appears at the top of the form. Clicking the smart button opens the warehouse delivery (WH/OUT) form.
Process delivery
From the warehouse delivery form, the products ordered by the customer can be delivered from the warehouse. To deliver the products, change the value in the Quantity field to match the ordered quantity in the Demand field.
Once ready, click Validate. Once validated, the delivery order moves to the Done stage.
Click back to the SO (via the breadcrumbs, at the top of the form) to view the SO form. On the product line, the quantity in the Delivered column now matches the ordered Quantity.
Receiving
- Confirm the purchase order.
- Open the Receipt smart button.
- Check the quantities against what actually arrived.
- Click Validate — the goods are now in stock.
Delivering
- Confirm the sales order.
- Open the Delivery smart button.
- Check the quantities being sent.
- Click Validate.
Common mistakes
- Validating a receipt for goods still on the lorry. Once validated, the system believes they are on the shelf and will promise them to someone.
- Editing the quantity to match the order instead of what arrived, instead of letting the shortfall become a backorder.
Was this article helpful?
Thanks — your feedback helps.
Running a window or door factory?
Ask for a demo