Define what finished means
Serialise the units and start the warranty
Why this step
A warranty claim in year four is only answerable if you know which unit went to which floor of which building. Serial numbers and location tags are what make that a lookup rather than an argument.
What this does
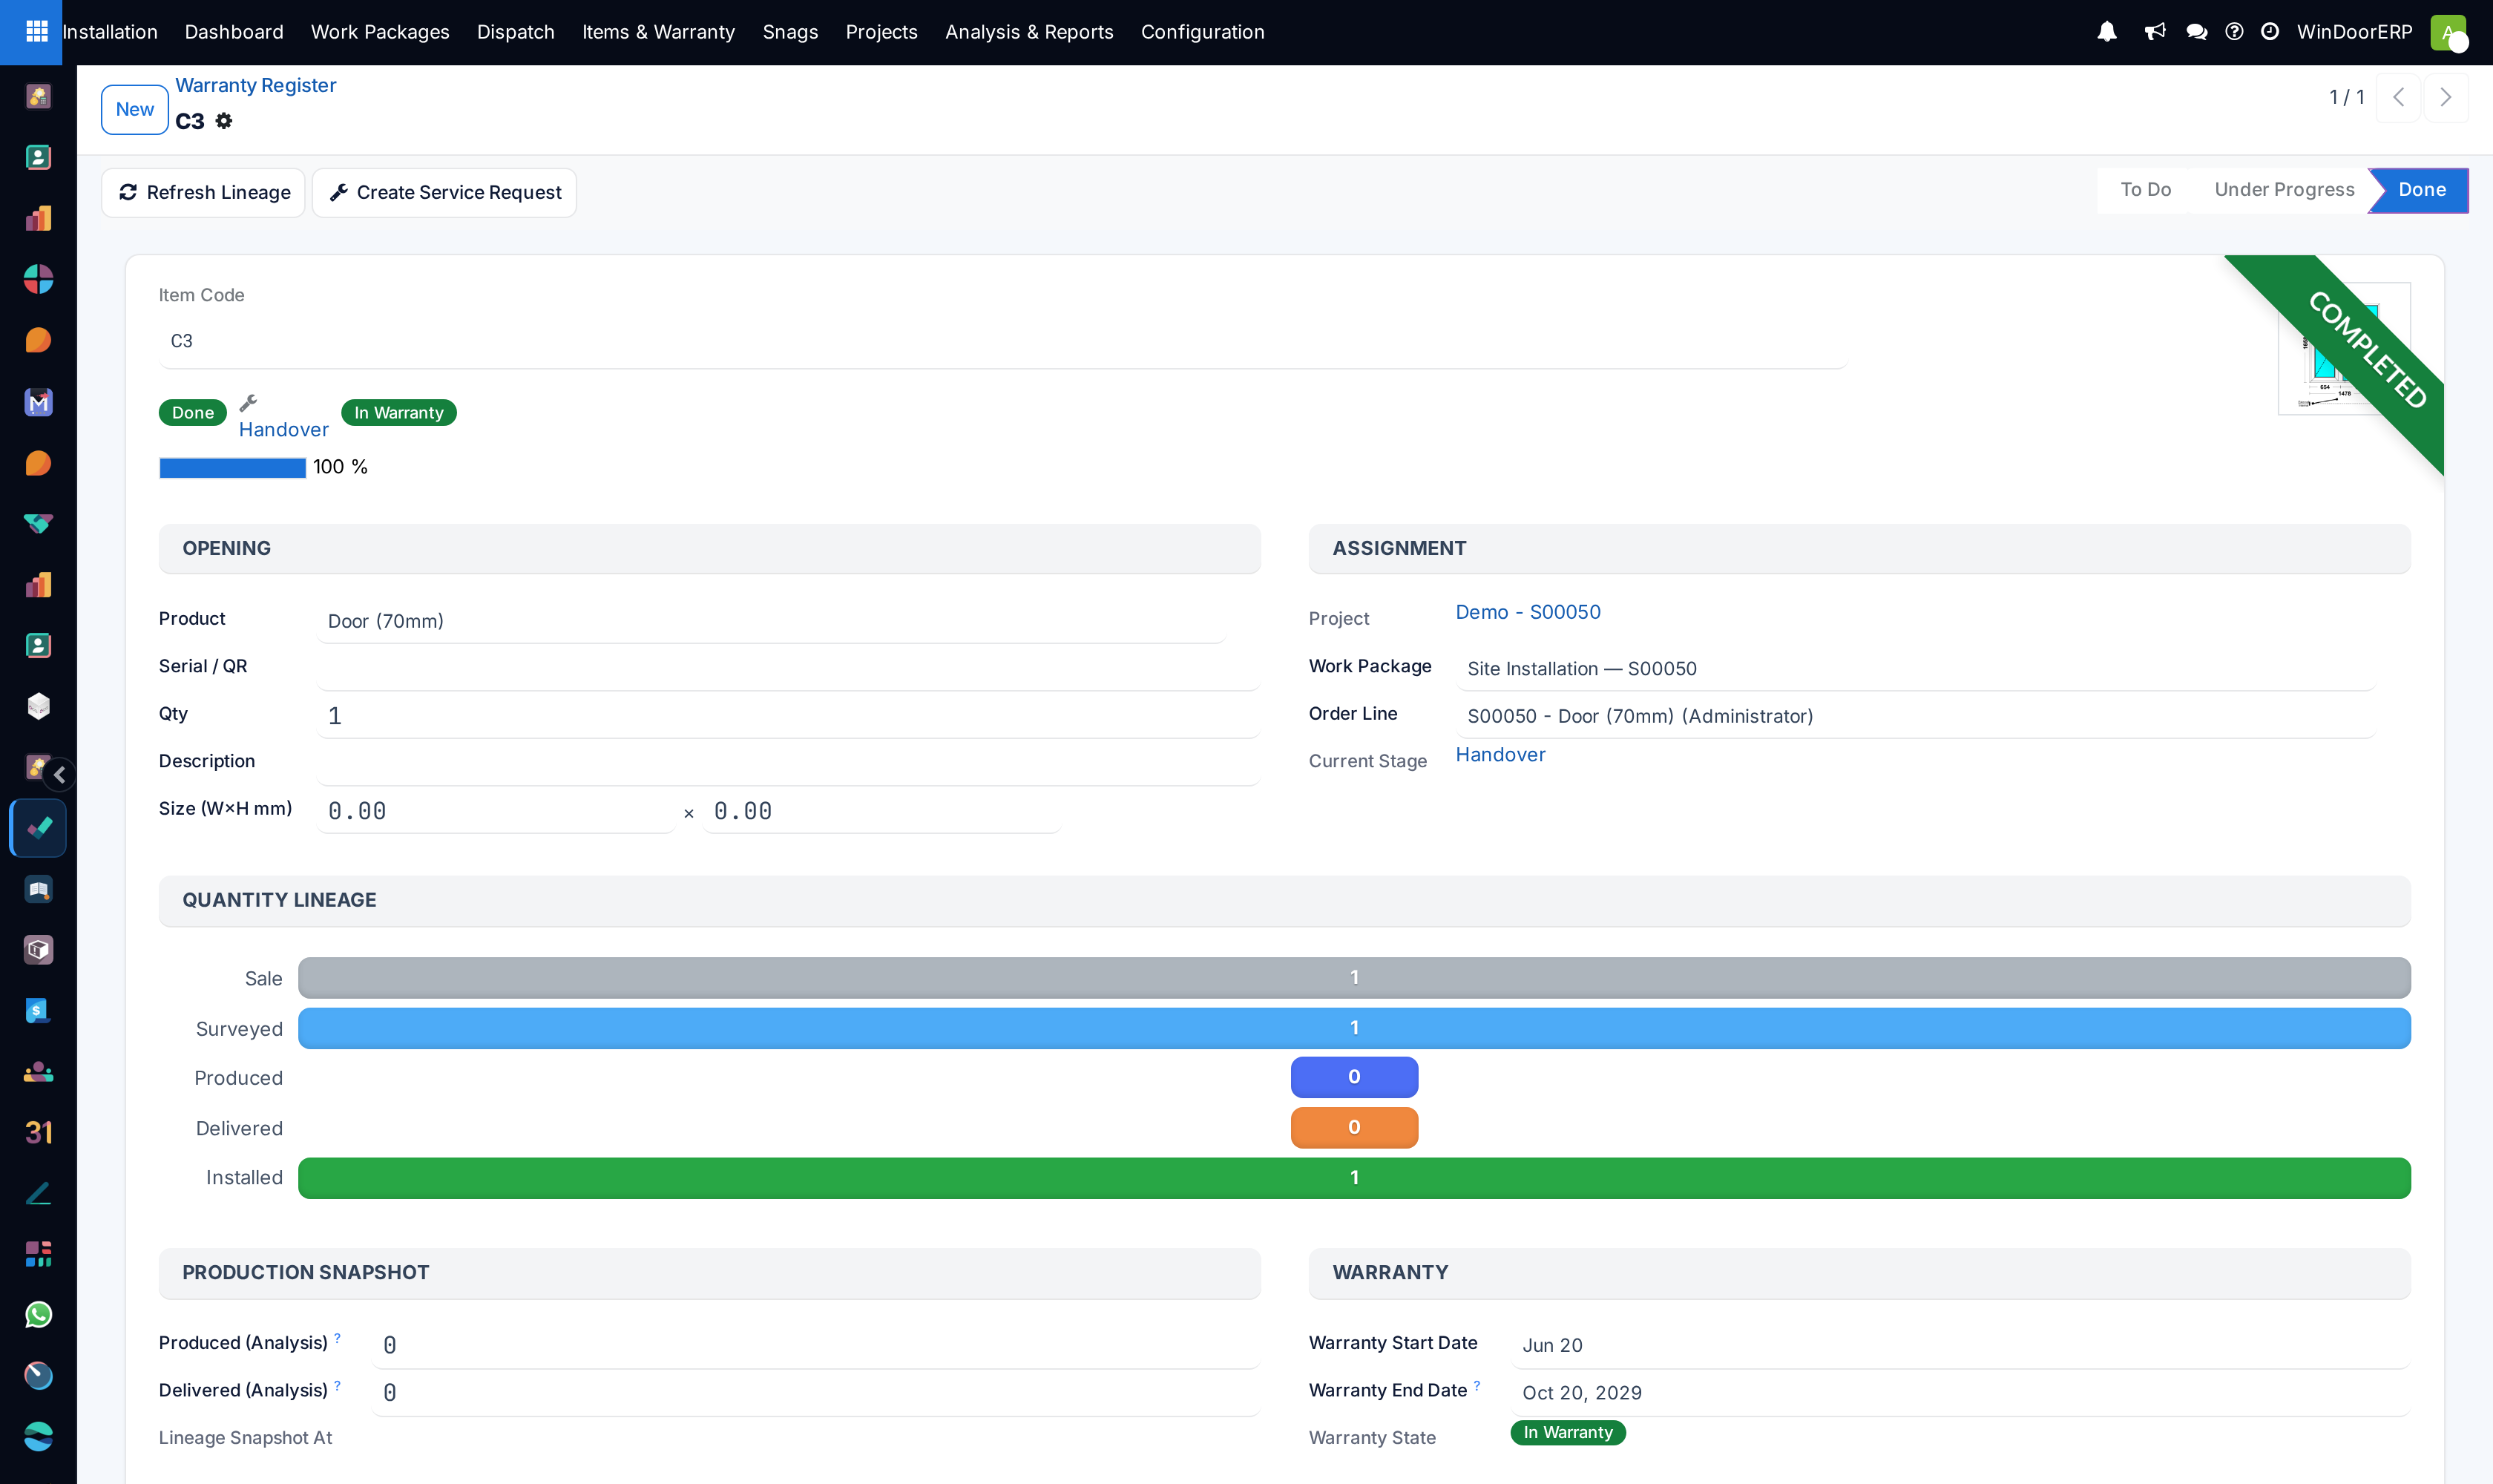
Maintains an asset registry of every installed window and door frame mapped to its exact building elevation, activating multi-tier warranty certificates upon site handover.
Before you start
- Produced units verified on site and final installation sign-off completed.
Steps
Important
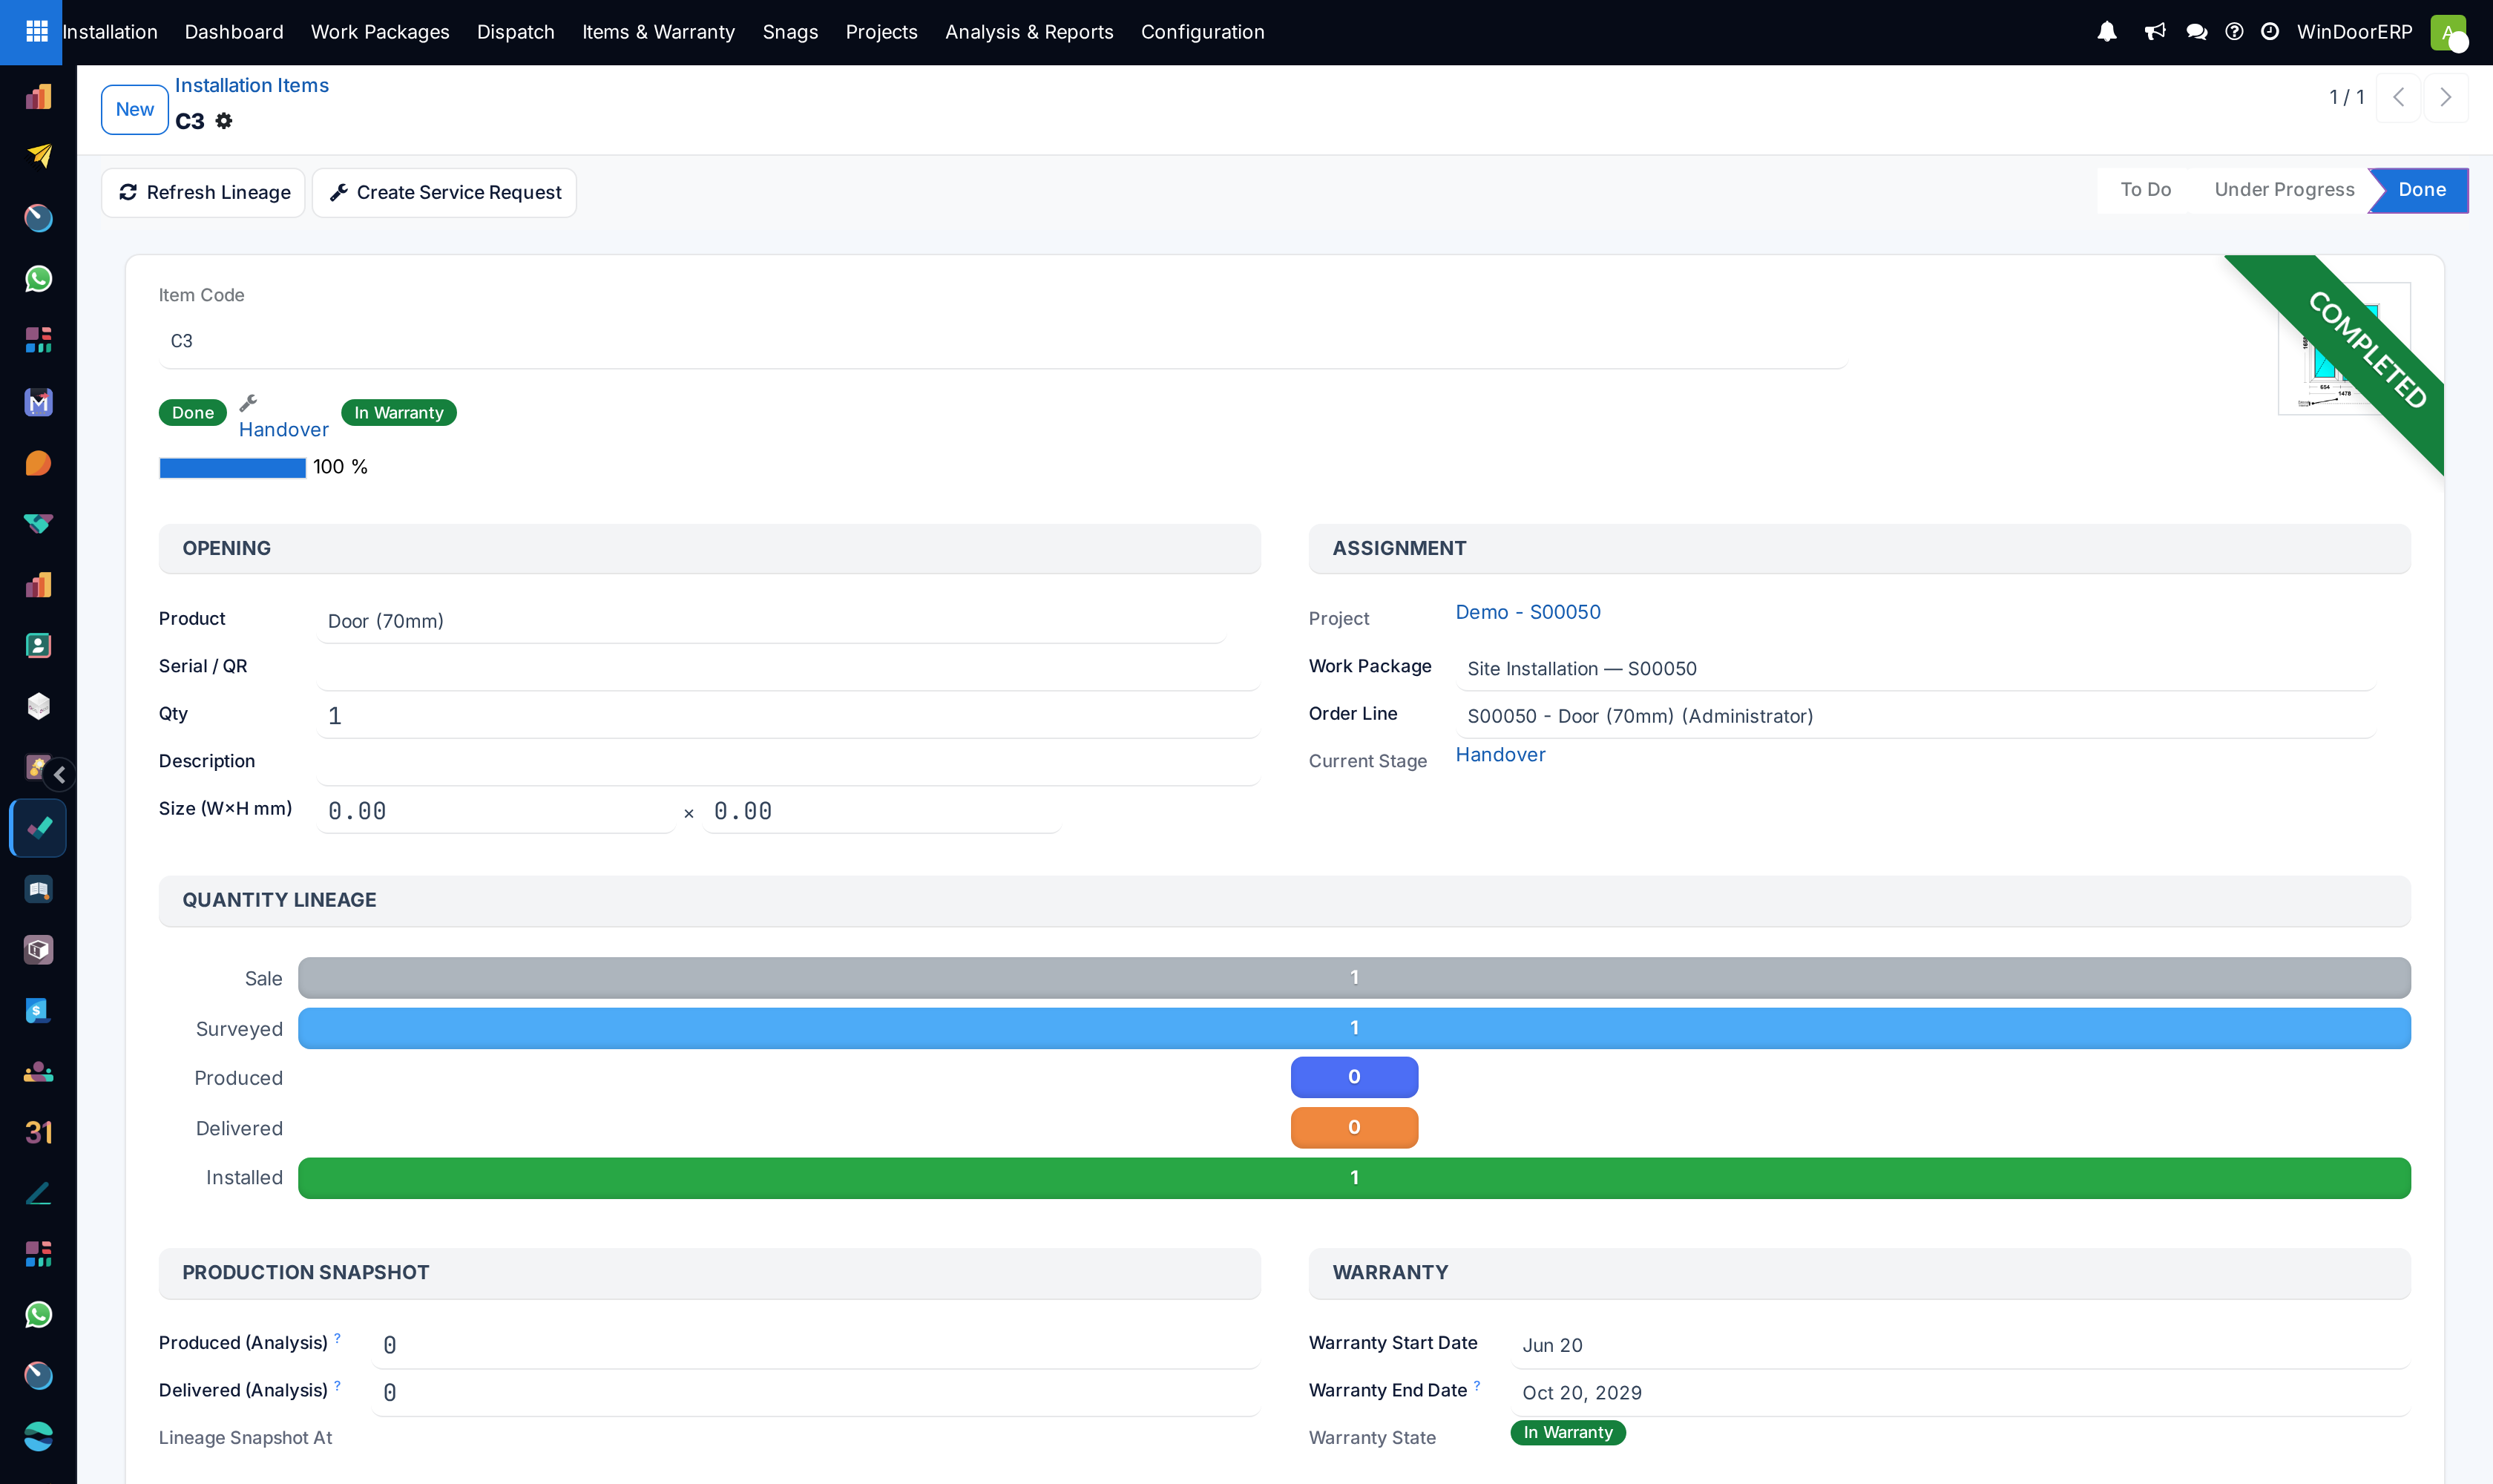
Each installation item links directly to its manufacturing serial passport, ensuring instant lookup of replacement glass dimensions if broken years later.
-
01
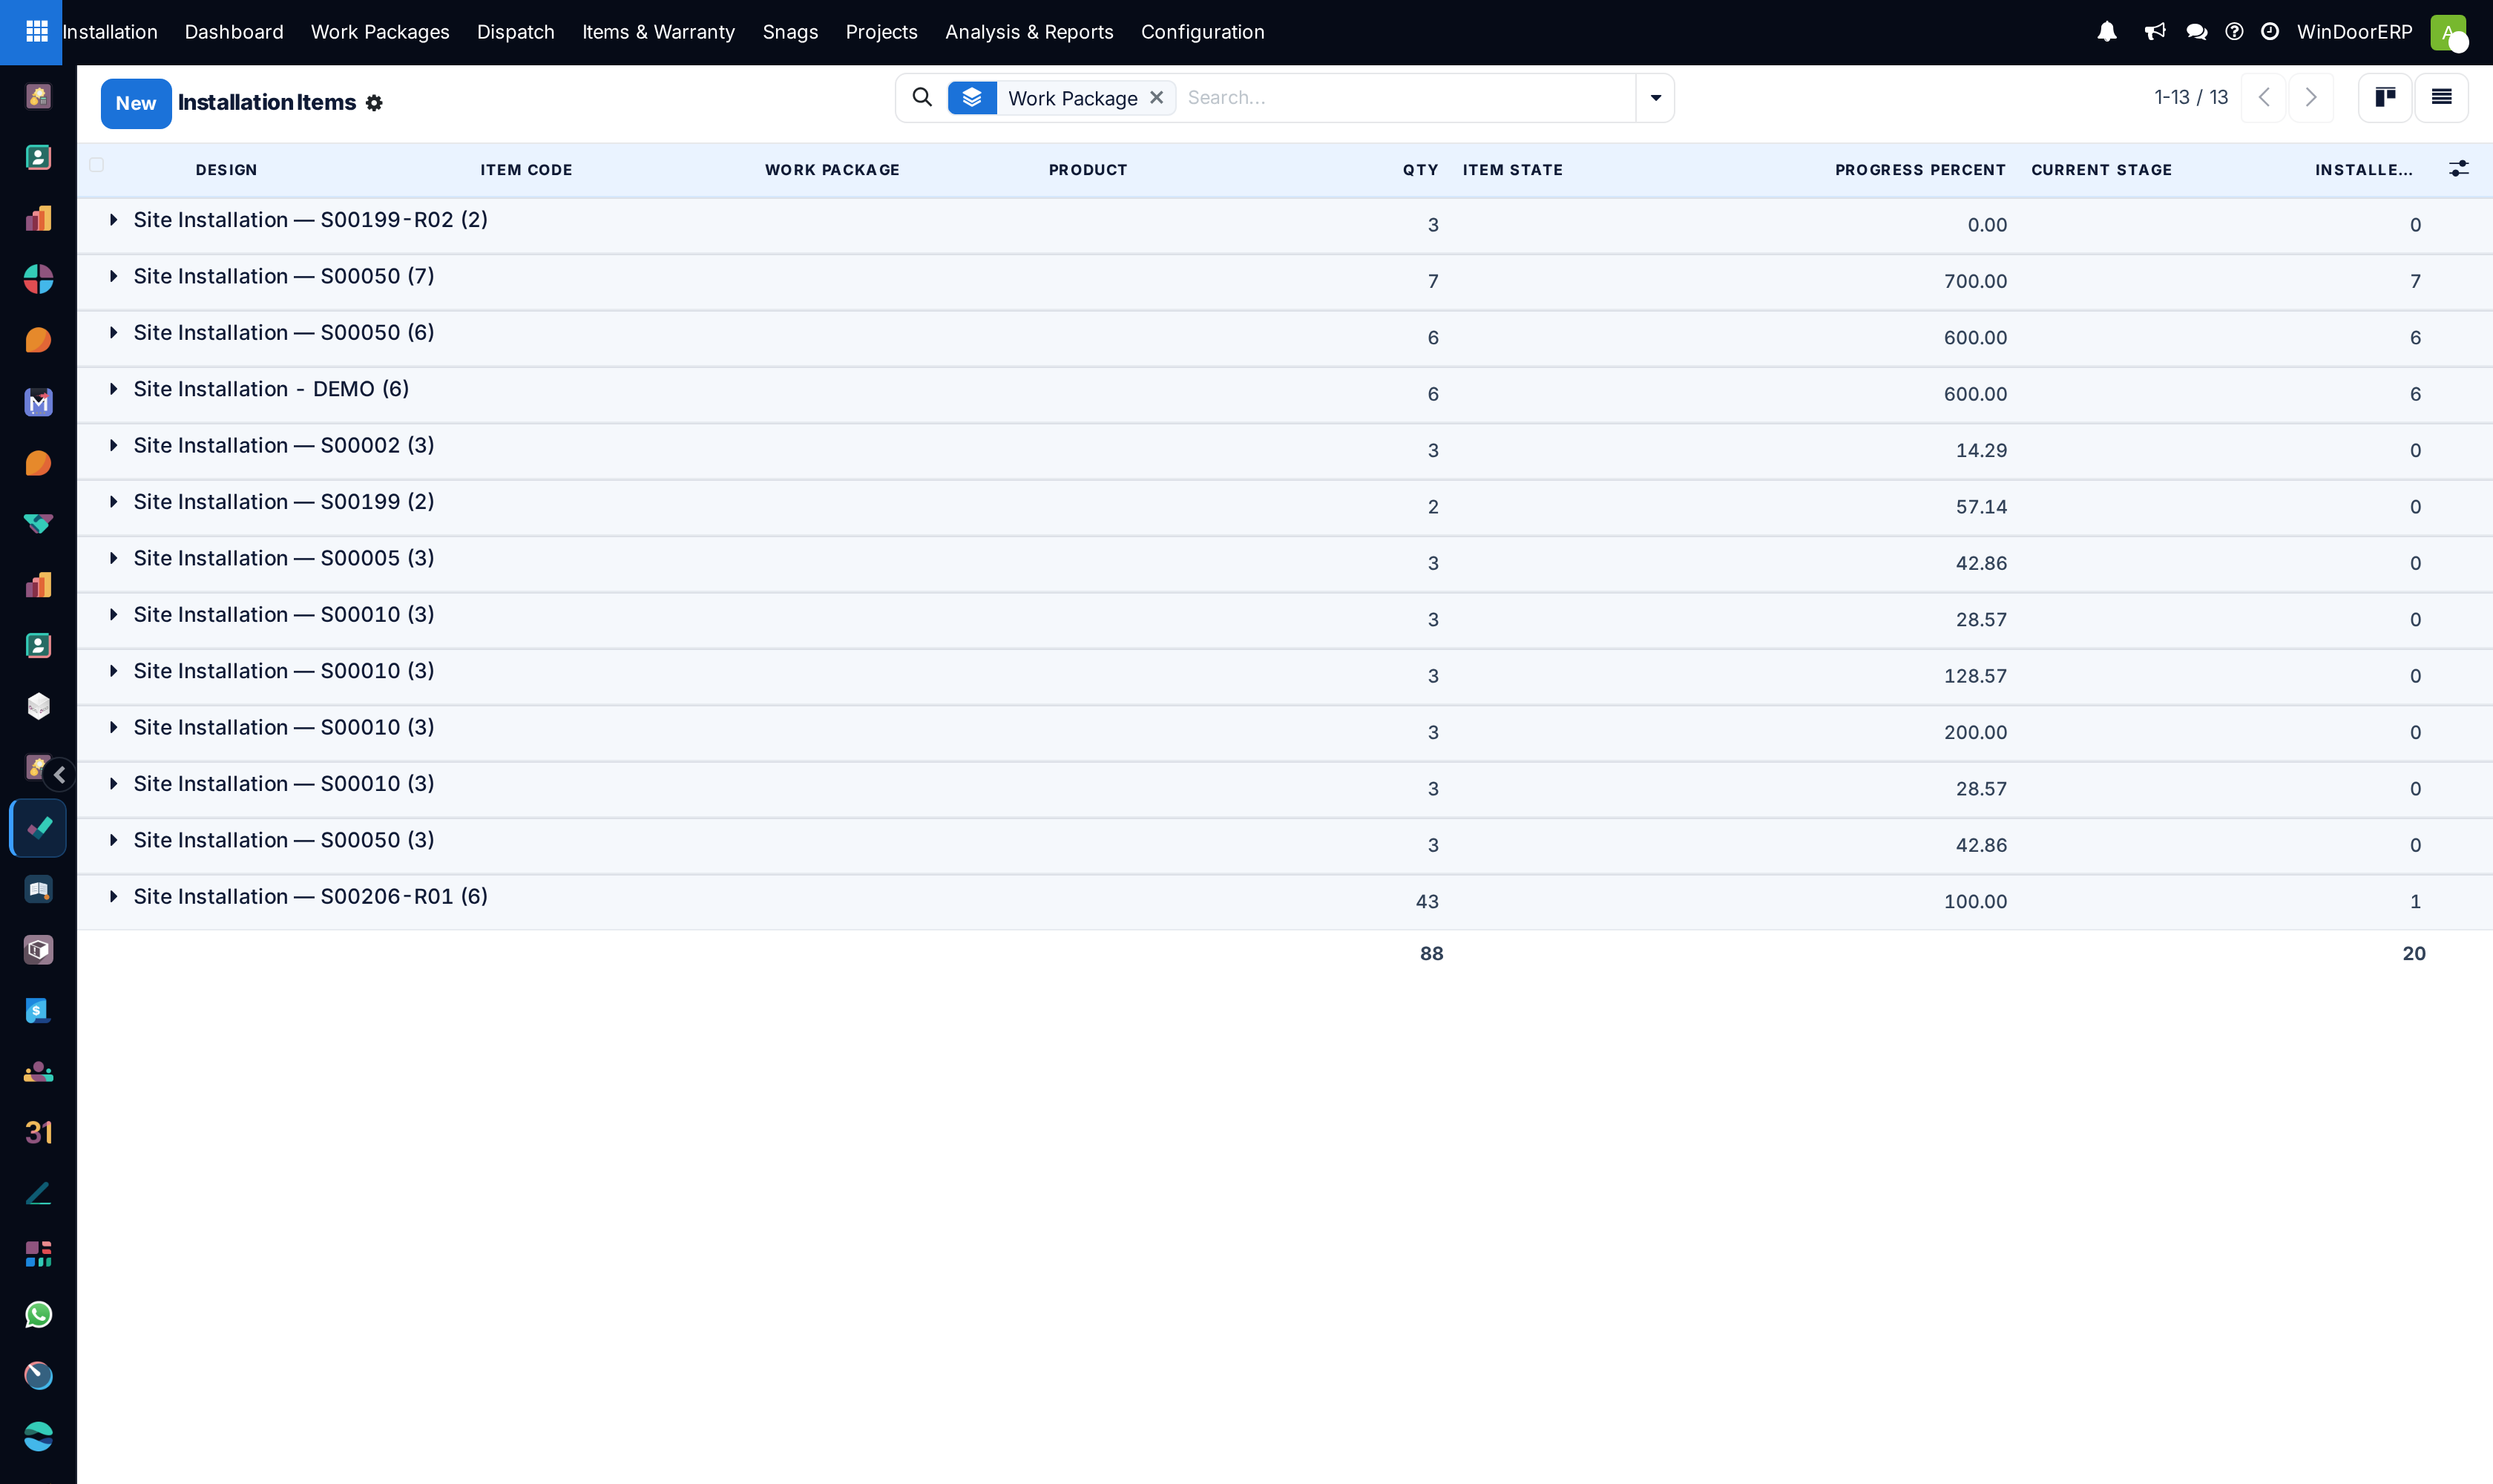
Open Installation › Items & Warranty › Installation Items.
-
02
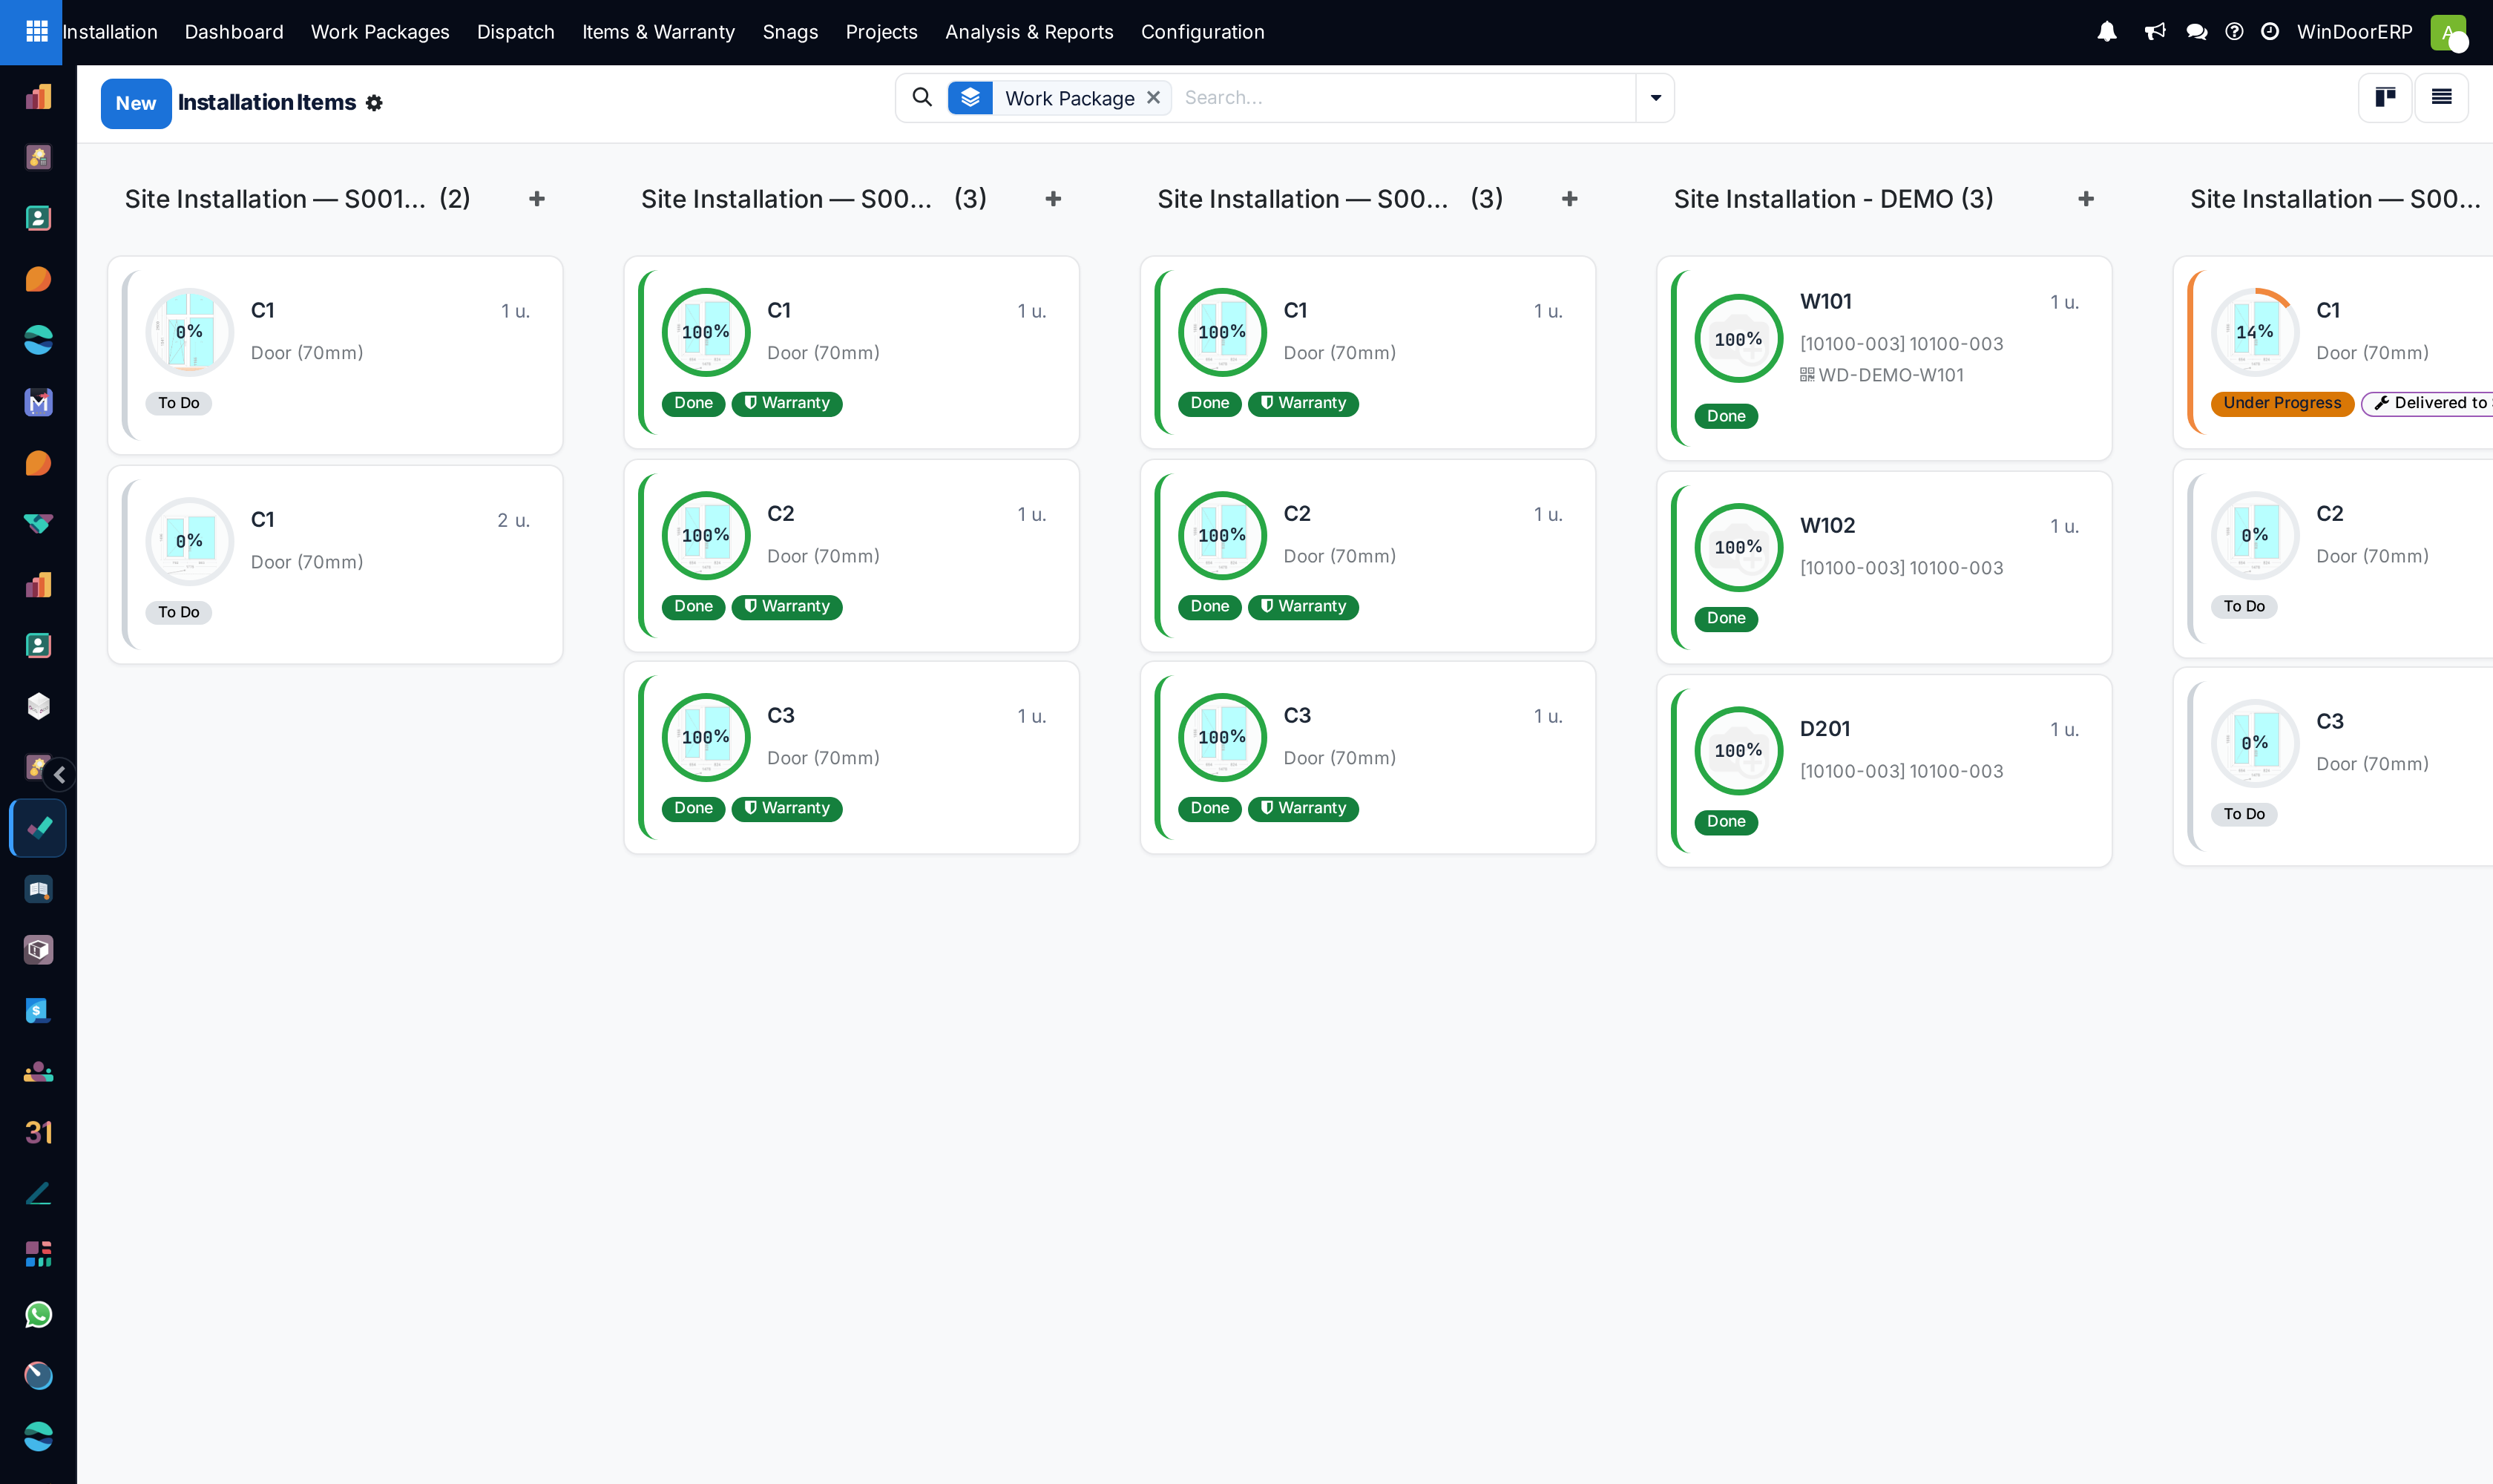
Inspect installed units categorized by project, floor level, and room tag (e.g. Master Bedroom Window W01).
-
03
View real-time status (Delivered, Anchored, Glazed, Handed Over).
-
04
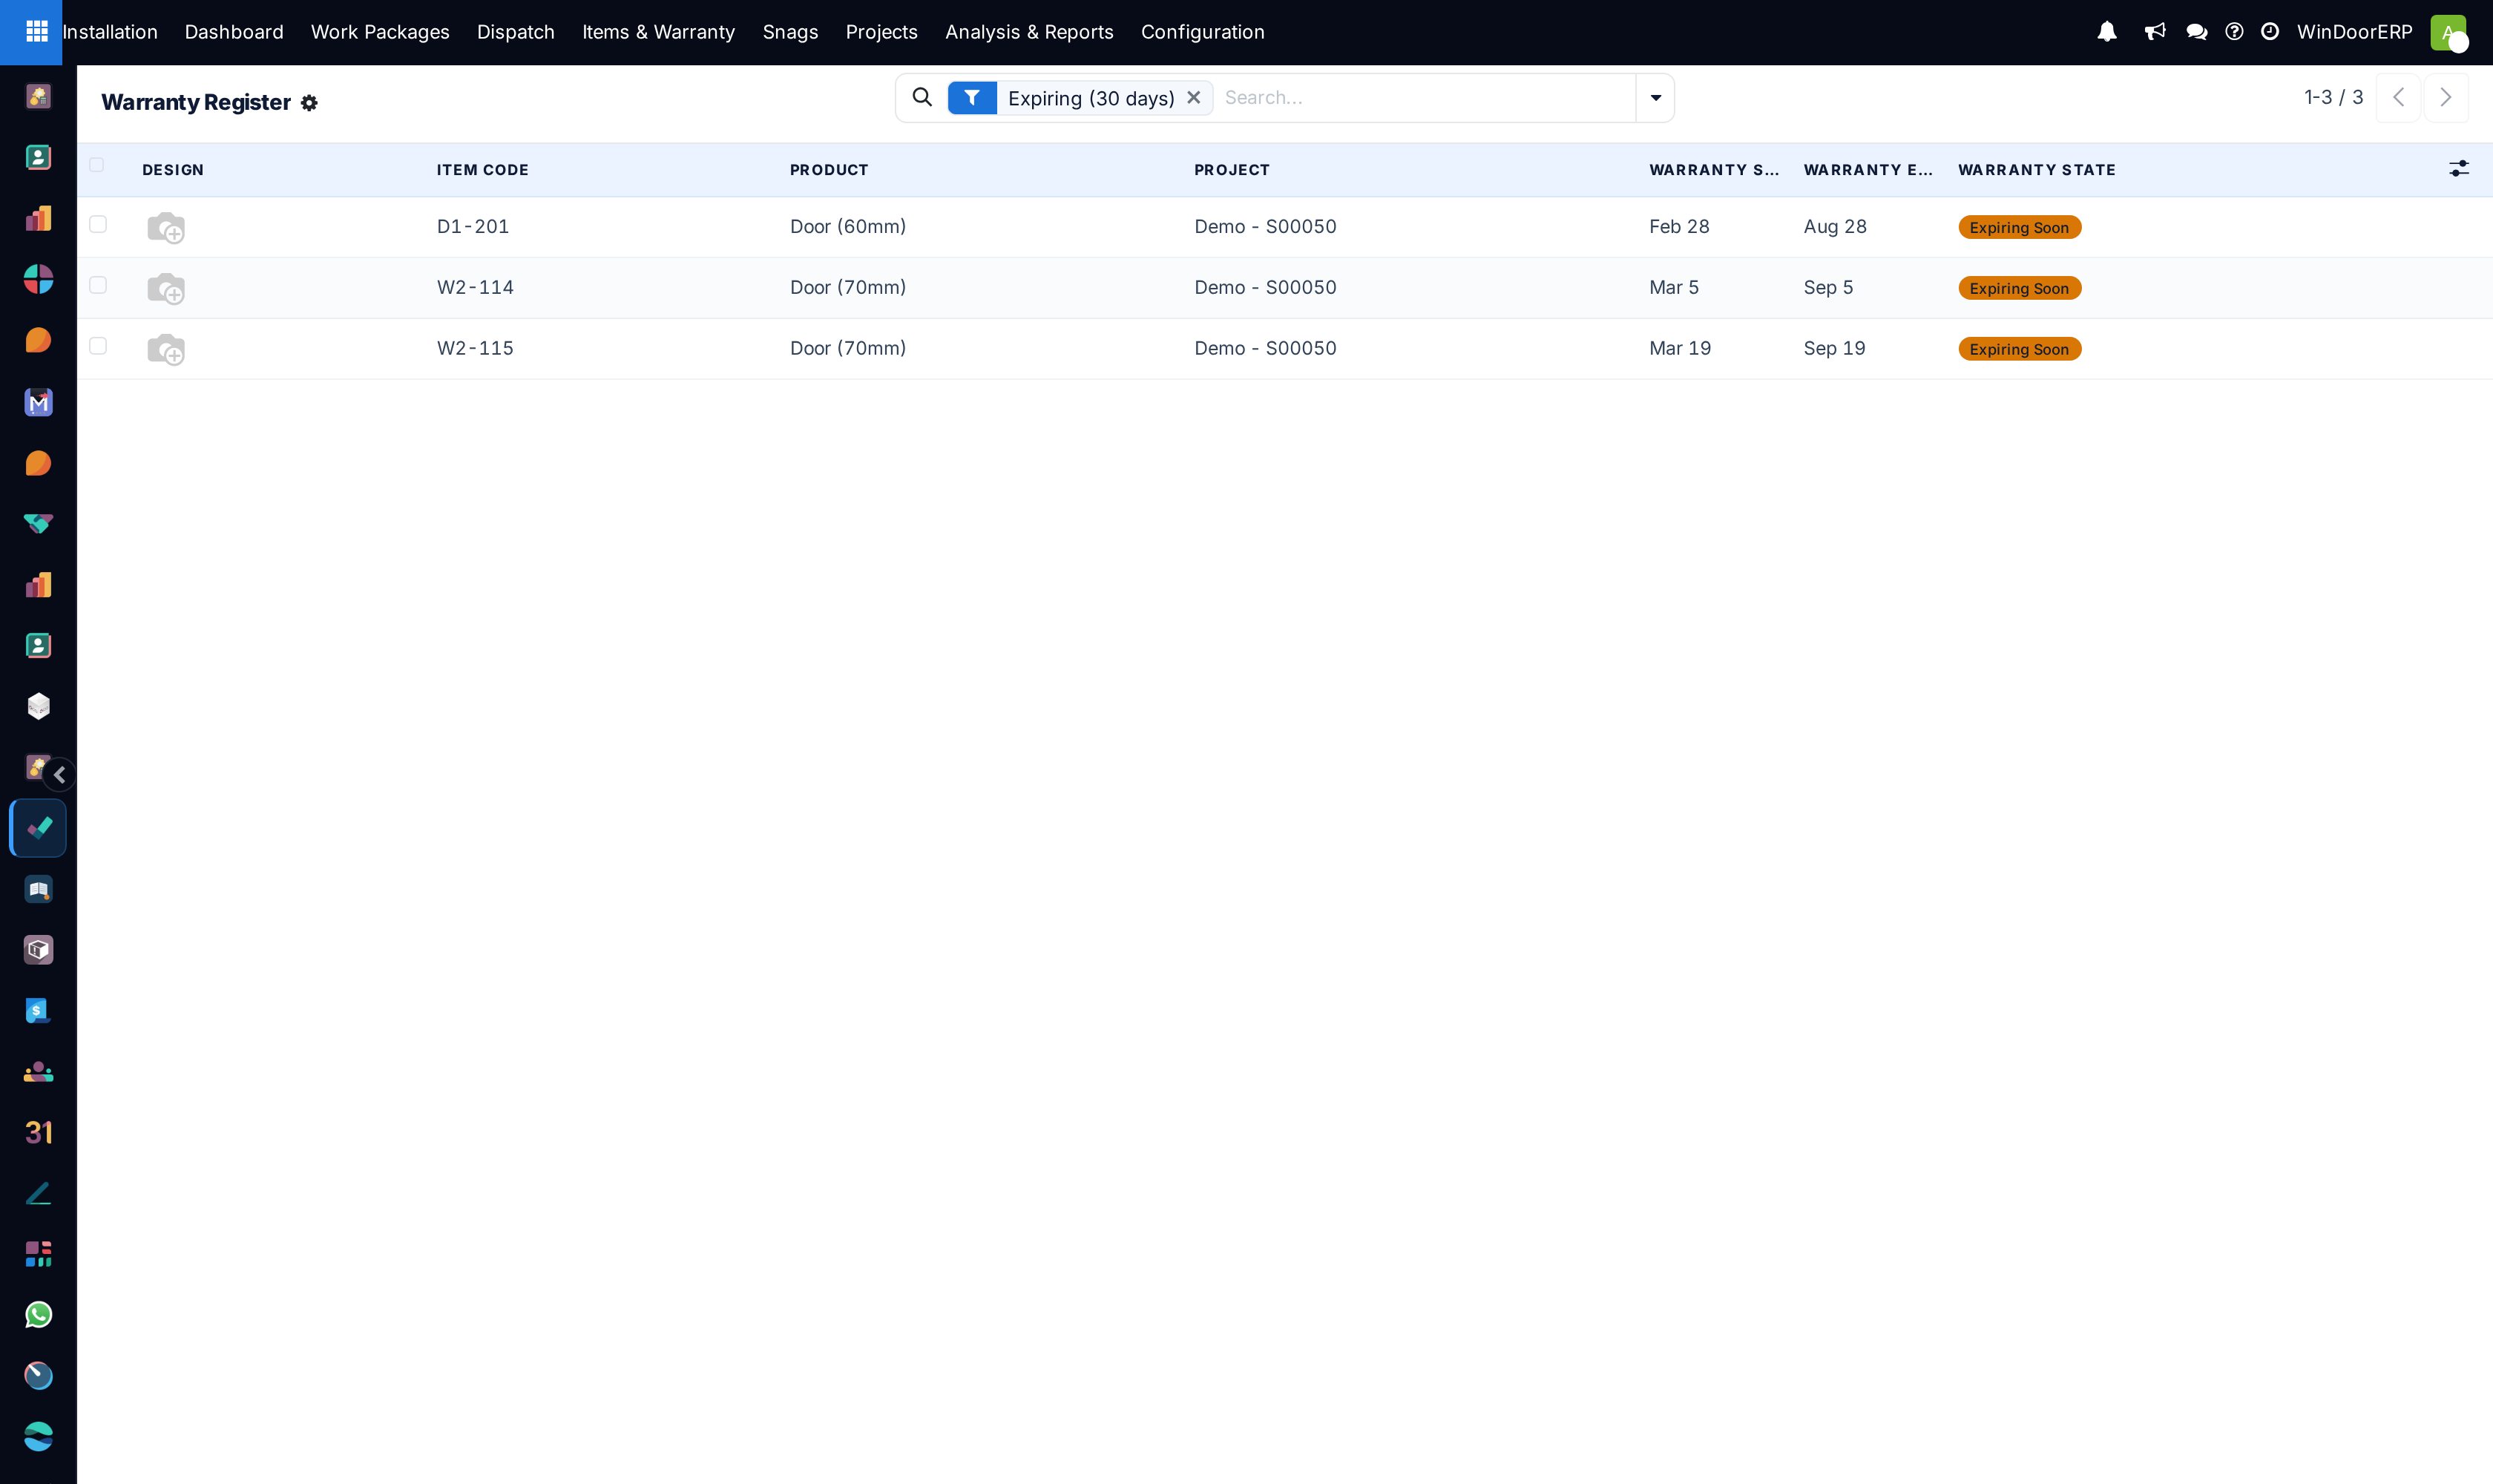
Navigate to Warranty to generate official bilingual customer warranty certificates (e.g. 10-Year Extrusion Finish, 5-Year Glass Seal, 2-Year Hardware).
Common mistakes
- Failing to record exact room location tags during installation, making warranty service call dispatch difficult.
- Activating warranty periods prior to customer final retention milestone settlement.
Checkpoint
You can find a single installed unit by its serial, and see when its warranty expires.